Do you know that Windows has a giant undo button that takes your computer back to when it was still working fine. Especially after you break something.
Let's imagine, you installed a new program yesterday, maybe a design software, a productivity tool, a game or a system driver. Everything was fine... but today;
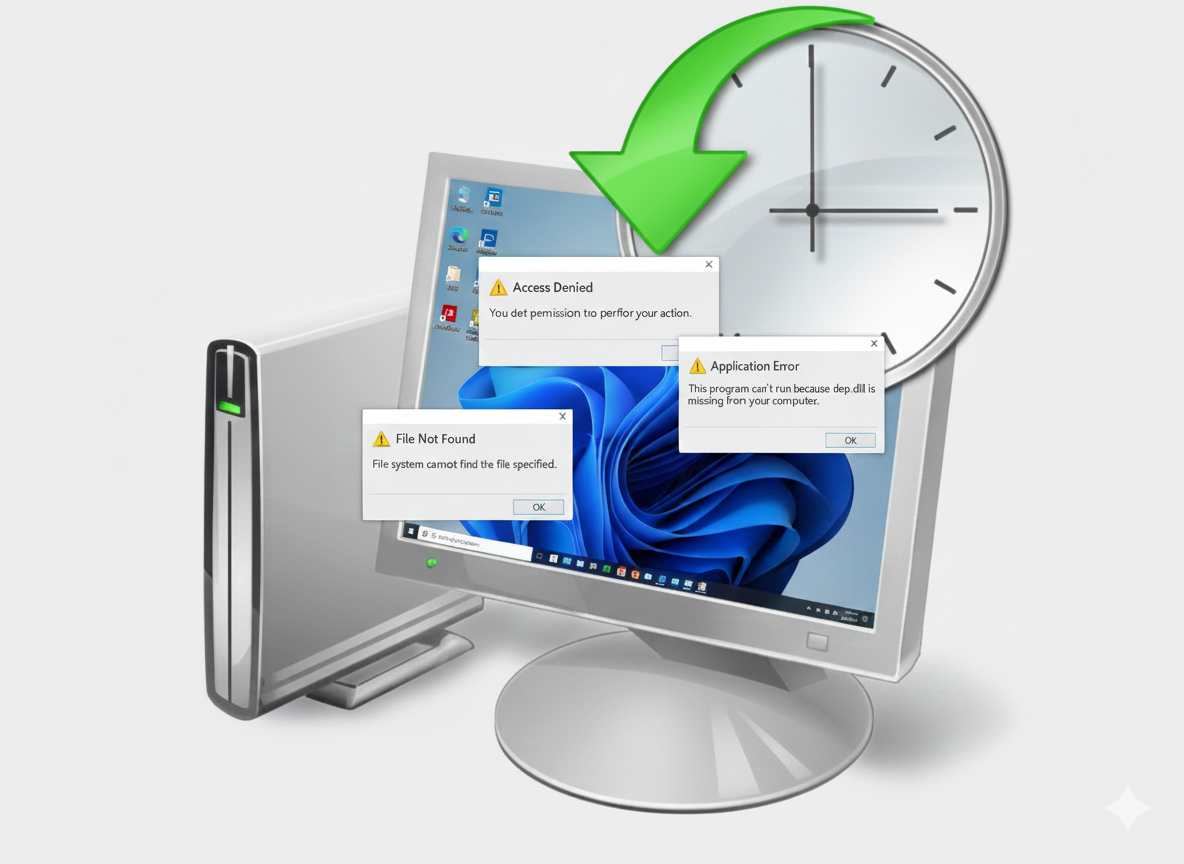
your laptop takes forever to come on, it becomes really slow, you discover some things aren't working anymore, you get loads of error messages when you try things you usually do or Windows Defender starts telling you that there is a virus on your PC.
Maybe you didn't install anything or change any setting but your system was very fine yesterday and now it's not anymore and you start wishing you could go back to yesterday when everything was alright.
Windows has a "time machine" called System Restore Tool, it can take your PC back to a good working state. Removing all malicious programs, restoring the correct settings and ultimately fixing all the errors.
-
No data loss.
-
No reinstalling Windows.
-
No need to wipe your PC.
Just… restoring your PC to how it was before the issue.
That’s the real power of System Restore.
What Is System Restore?
System Restore is a built-in Windows recovery tool that takes snapshots of your system files, settings, drivers and registry.
When something goes wrong, it lets you roll back your PC to an earlier point in time, called a restore point, without affecting:
-
documents
-
photos
-
videos
-
downloads
-
your personal files
It only reverses system-level changes.
You can think of it like:
A “time machine” for your Windows settings.
System Restore works only if System Protection is turned on for your Windows drive (usually Local Disk (C:)). If system protection is turned off, you won't be able to create a restore point to roll back to.
How to Enable System Protection
Step 1: Open System Properties
-
Press Windows Key + R
-
Type:
SystemPropertiesProtection -
Press Enter

Step 2: Turn On Protection for Drive C
-
Under Protection Settings, select Local Disk (C:) (System)
-
Click Configure

Step 3: Enable System Protection
-
Choose Turn on system protection
-
Use the slider to set disk usage (3–5% is fine)
-
Click Apply → OK
Optional: Create a Manual Restore Point
-
Click Create (especially before installing an app or changing a setting you're unsure of)
-
Name it something like “Before installing App name”
-
Wait for confirmation.

How to Perform a System Restore (From Inside Windows)
Once system protection is enabled, restoring your PC becomes easy.
Step 1: Open System Restore
-
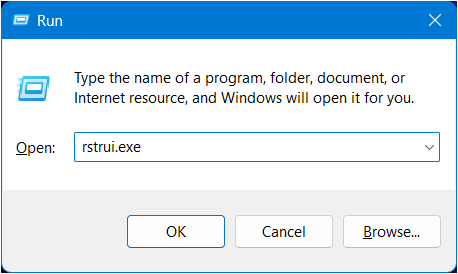
Press Windows Key + R
-
Type
rstrui.exe -
Press Enter
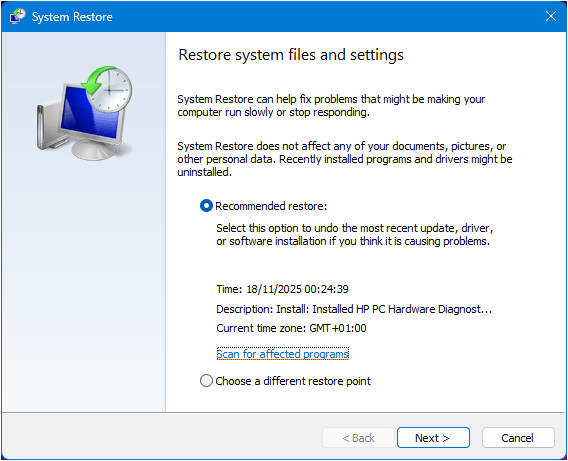
Step 2: Pick “Choose a different restore point”
Then click Next.
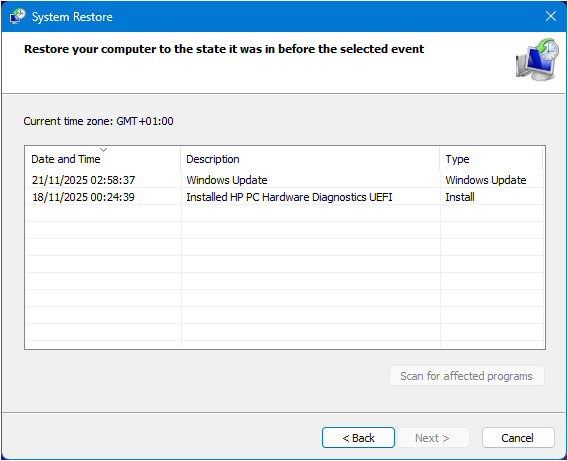
Step 3: Select a Restore Point
You will see entries like:
-
Windows Update
-
Installed App
-
Driver Install
-
Manual restore point
Step 4: Confirm and Restore
Click Finish → Yes.
Your PC will restart and begin restoring.
How to Perform System Restore from WinRE (Recovery Environment)
If Windows won’t boot normally, you can still restore it.
How to Enter WinRE
Any of these works:
Method 1: Automatic recovery
– After 3 failed boots, Windows automatically loads Recovery Mode.
Method 2: Shift + Restart (if Windows still boots)
-
On the login screen, hold Shift
-
Click Restart
Method 3: Using a bootable USB
– Boot from a Windows installation USB
– Click Repair your computer
Inside WinRE, follow these steps:
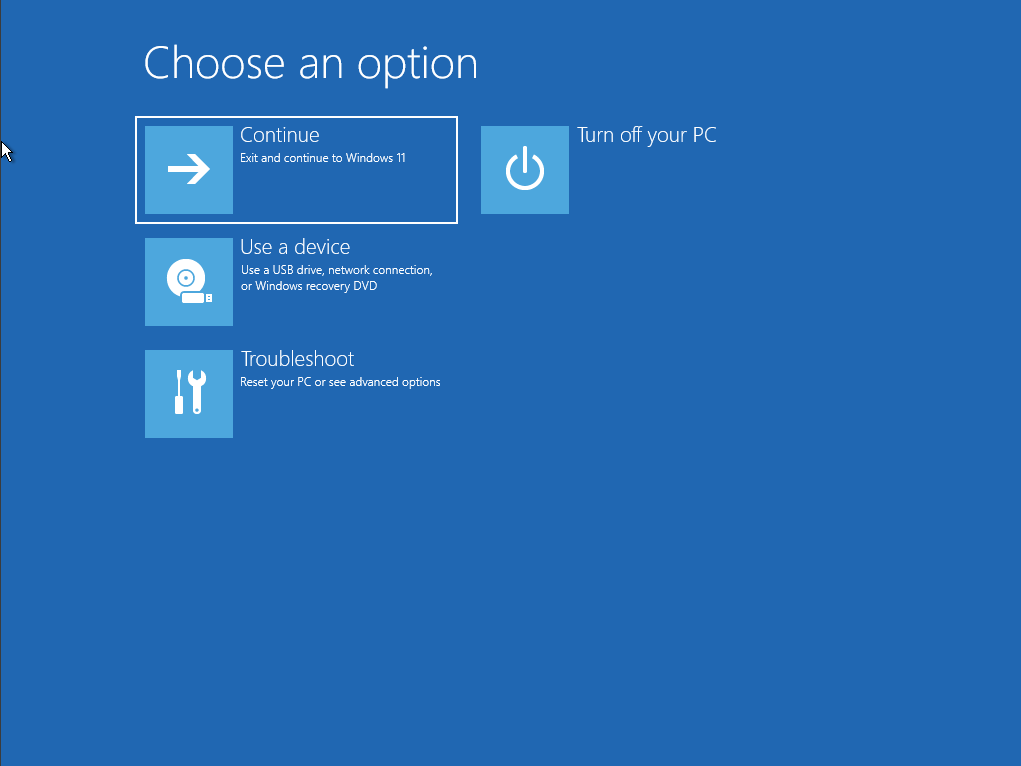
Step 1: Choose Troubleshoot
Step 2: Advanced Options
Tap Advanced options.
Step 3: System Restore
Select System Restore from the list.
Step 4: Choose Target Operating System
Pick Windows 10/11 if prompted.
Step 5: Select Restore Point
Just like inside Windows, choose a restore point.
Step 6: Finish
Click Next → Finish → Yes.
Windows will restart and restore your system.
If this was helpful, leave a comment with questions or suggestions.